CodeBuddy Configuration
Pay-as-you-go MiMo API and Token Plan both support CodeBuddy. Refer to this guide for configuration and usage.
Prerequisites
Obtain Credentials
Supports two usage methods, but the corresponding credential acquisition methods are different:
| Usage Method | Description | Acquisition Method (BASE_URL and API Key below are examples) |
|---|---|---|
| Pay-as-you-go MiMo API | Charged based on actual usage, suitable for light use |
Go to API Keys to create an API Key |
| Token Plan | Fixed subscription fee, with limited calls based on the package |
After successful subscription, go to Token Plan to obtain the exclusive Base URL and API Key |
Use CodeBuddy IDE
Install CodeBuddy
Visit the CodeBuddy website to download and install the IDE, which supports major operating systems (Windows, macOS).
Configure MiMo Model
1. Configure Custom Model
Create or modify the configuration file models.json to add custom models. Example configuration:
-
macOS:
~/.codebuddy/models.json -
Windows:
User Directory\.codebuddy\models.json
BASE_URL and MIMO_API_KEY should be modified according to your credential acquisition method.
{
  "models": [
    {
      "id": "mimo-v2.5-pro",
      "name": "mimo-v2.5-pro",
      "vendor": "MiMo",
      "apiKey": "MIMO_API_KEY",
      "url": "BASE_URL/chat/completions",
      "supportsToolCall": true,
      "supportsImages": false
    },
    {
      "id": "mimo-v2.5",
      "name": "mimo-v2.5",
      "vendor": "MiMo",
      "apiKey": "MIMO_API_KEY",
      "url": "BASE_URL/chat/completions",
      "supportsToolCall": true,
      "supportsImages": true
    }
  ]
}
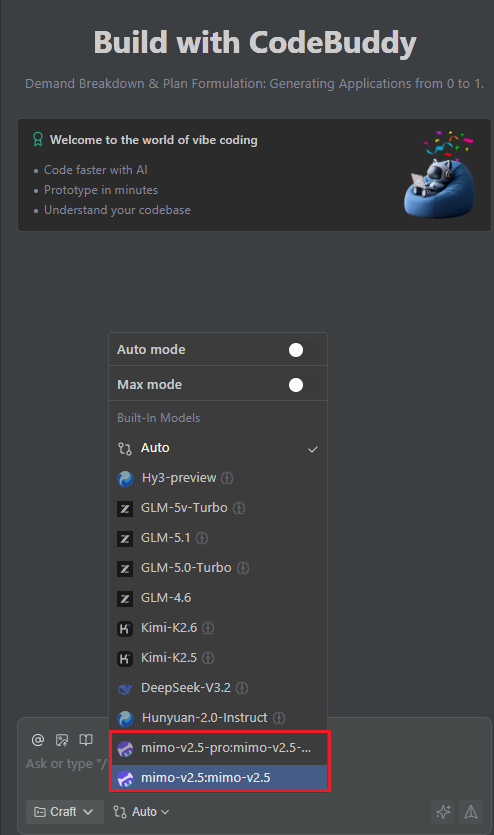
2. View and Switch Models
After configuration, turn off Auto mode and open the model list to see the configured MiMo models.
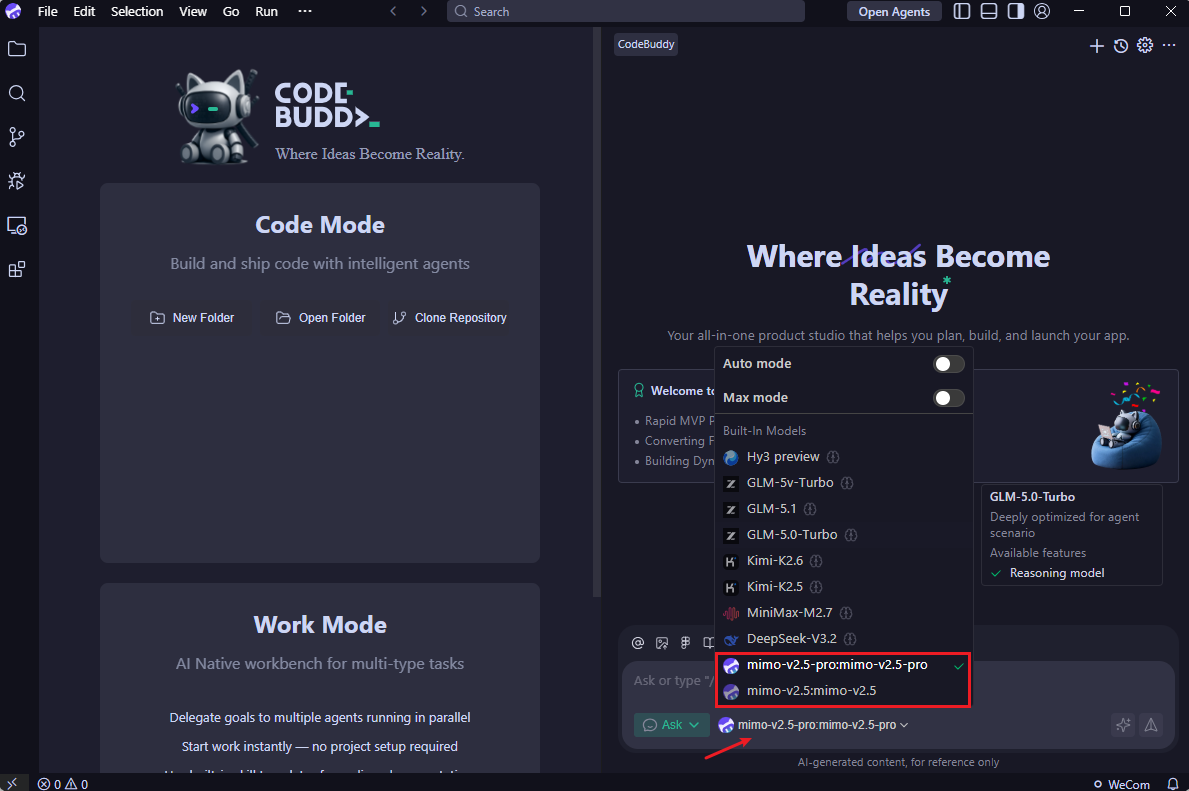
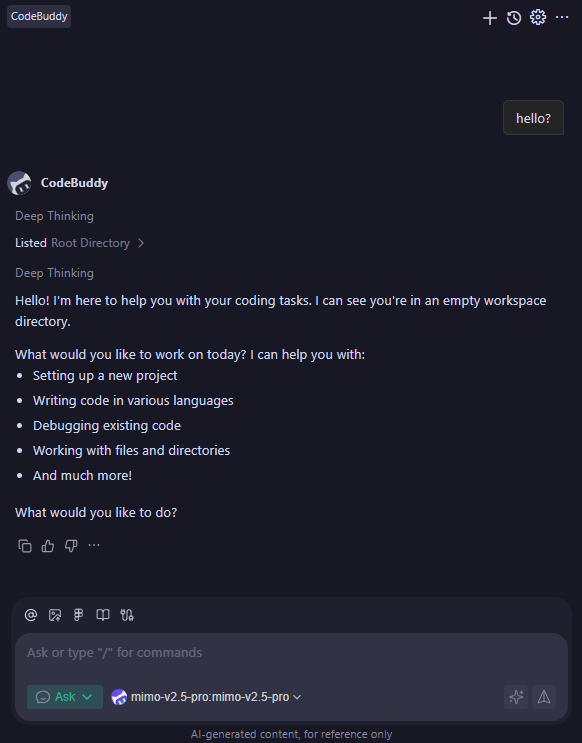
Use MiMo Model
Select the configured model to start conversations, coding, and other operations.
Use CodeBuddy IDE Plugin
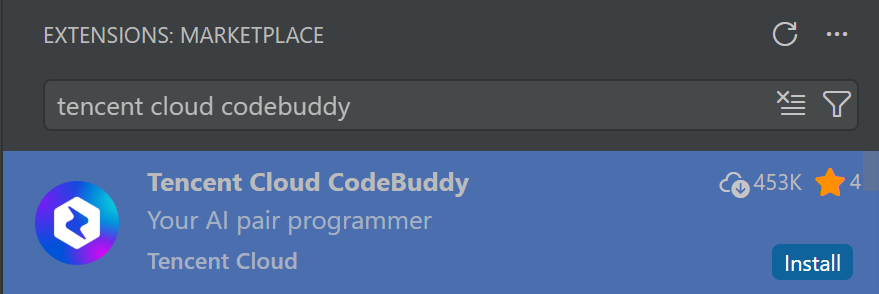
Install Plugin
Search for Tencent Cloud CodeBuddy in the VS Code extension marketplace and install the plugin.
Configure MiMo Model
Refer to the models.json configuration file in the "Use CodeBuddy IDE" section. If previously configured, it will be automatically loaded.
Use CodeBuddy CLI
Install CodeBuddy CLI
Install via npm (requires Node.js 18.20 or newer):
npm install -g @tencent-ai/codebuddy-code
Verify installation (if a version number is displayed, the installation was successful):
codebuddy --version
Configure MiMo Model
The BASE_URL and API Key for Pay-as-you-go MiMo API and Token Plan are different. Please configure accordingly.
Refer to the models.json configuration file in the "Use CodeBuddy IDE" section. If previously configured, it will be automatically loaded.
Use CodeBuddy CLI
After configuration, navigate to your project directory and run:
codebuddy
After startup, use /model to view or switch models, and /status to check the current model.
FAQ
Model not appearing in the dropdown after configuration?
-
Check if the JSON syntax is correct
-
If the
availableModelsfield is configured, ensure the model id is included